
6 Easy Steps to Stunning Deep-Sky Photos with a DSLR
Ready for the Night: Capture Deep-Sky Wonders
I know clear nights are rare and frustrating, yet your DSLR can photograph galaxies millions of light-years away. This concise guide shows six easy steps—planning, setup, shooting, focusing, capturing, and stacking—to get stunning deep-sky images with patience and practice today.
What You’ll Need
Must-Know DSLR Settings for Stunning Astrophotography — Beginner Tutorial
Pick the Best Night and Location
Want brighter galaxies? Stop shooting from a parking lot — go where the sky breathes.Scout a dark-sky site away from city glow and heavy horizon glow. Check the moon phase—aim for a new moon or nights with low moon illumination—and confirm clear, steady seeing with weather forecasts.
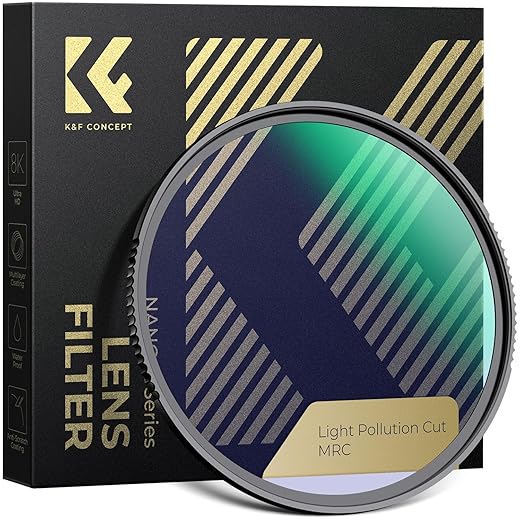
Use light-pollution maps and planning apps to pick your spot. Recommended tools:
Choose targets that reach high altitude during your session (less atmosphere = better contrast). Plan travel and setup so you can begin imaging as soon as darkness and target altitude align—planning reduces wasted time and improves contrast in faint objects.
Arrive early to set up and avoid unnecessary light exposure.
Set Up Your Gear Correctly
A tripod isn’t optional — it’s your spaceship. Stabilize before you shoot.Mount your DSLR on a rigid tripod.
Attach a sturdy ball head or tilt head and lock it tight.
Use a quick‑release plate for repeatable framing.
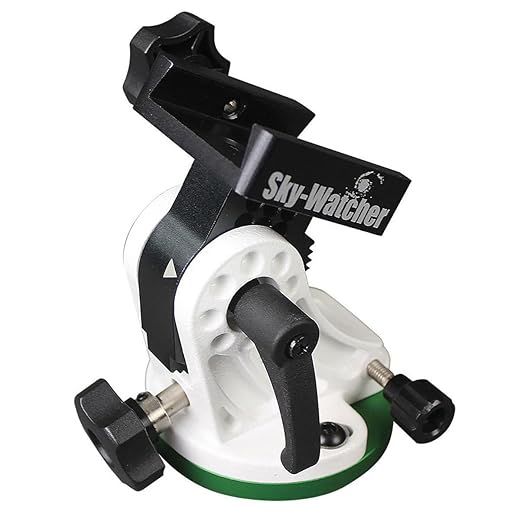
Polar‑align your star tracker or equatorial mount carefully — use a polar scope or app‑assisted routine.
Test unguided exposures (30–60 s) to confirm how long you can go without trailing.
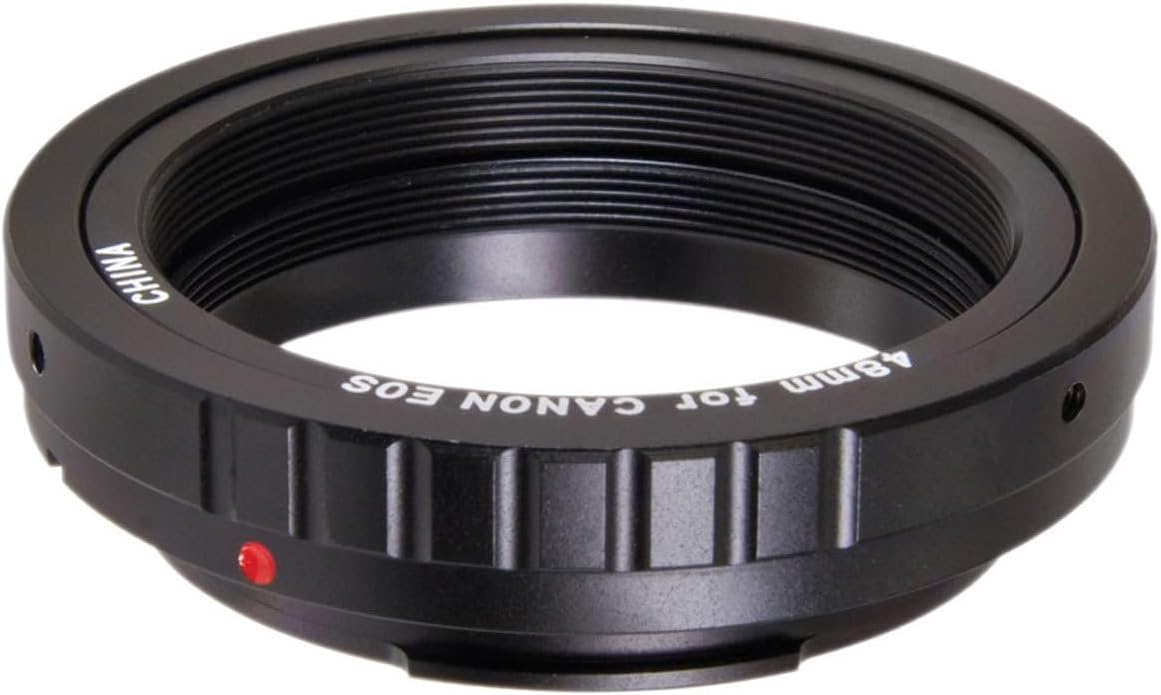
Choose optics by target: use a wide lens (14–35 mm) for Milky Way shots; use longer focal lengths (200–600 mm) or a small refractor/telescope for galaxies and nebulae.
Balance the rig on the mount and tighten all clamps.
Secure every cable and strap to prevent tugging during exposures.
Pack warm clothing and backups.
Master Camera Settings: ISO, Aperture, Shutter
Push ISO to reveal faint stars, but don’t let noise crash the party — find the sweet spot.Switch to Manual (M) mode. Set your lens to the widest aperture it cleanly supports — typically f/2.8–f/4 — to maximize light. Stop down one stop if stars look soft at the extreme aperture.
Choose ISO high enough to reveal faint detail but low enough to control noise — commonly ISO 800–3200. Test your camera at home to find the ISO that preserves highlights and minimizes chroma noise.
Determine exposure time with the 500 Rule: max seconds = 500 ÷ focal length (use 300 for high‑MP sensors). For crop sensors, multiply focal length by the crop factor first (24mm on APS‑C 1.5 ≈ 36mm ⇒ 500/36 ≈ 14s). Use a tracker for multi‑minute exposures.
Nail Focus for Pinpoint Stars
If stars are blobs, your whole night is wasted — here’s how to nail focus every time.Use Live View at maximum magnification on a bright star or distant electric light and achieve precise manual focus. Point at a 1st–2nd magnitude star (Vega, Arcturus) or a distant streetlamp, set a short test exposure (3–8s) and high ISO so the star is bright in Live View.
Fit a Bahtinov mask if you have one: adjust the focus until the diffraction spikes form an X and the central spike is perfectly centered—this makes razor‑sharp focus trivial.
Take a few test shots, zoom in on the images, and inspect star shapes. Tweak the focus ring in tiny increments and re‑test until stars are tight points.
Capture Strategy: Subframes, Tracking, and Calibration
One long exposure rarely wins — stack your way to glory. Planning beats brute force.Shoot many shorter exposures (subframes) instead of one very long shot—this reduces noise and makes it easy to remove satellite trails. Use a tracker to extend each subframe to minutes; without a tracker, keep exposures within the star‑trail limit (e.g., 20–40s at wide focal lengths).
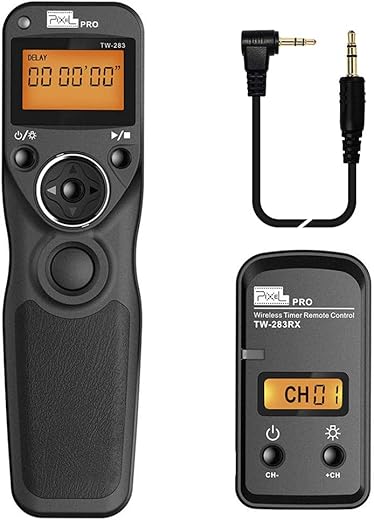
Use plenty of subframes — aim for 30–200+ exposures depending on your target and noise tolerance. Automate sequences with an intervalometer to run continuous shots and set small gaps between frames.
Capture calibration frames:
Bracket a few exposure lengths when learning to compare detail vs. noise.
Post-Process: Stacking and Enhancing
Turn faint smudges into galaxies — stacking and curves will feel like wizardry.Stack your subframes using DeepSkyStacker, Sequator, or AstroPixelProcessor to improve signal-to-noise.
Apply calibration frames (darks, flats, bias) during stacking to remove sensor artifacts and vignetting.
Stretch the image with curves or histogram tools to reveal faint detail—try a gentle S-curve or a masked stretch for nebulae.
Adjust white balance and color saturation carefully; correct color casts (for example, remove a green skyglow) without oversaturating stars.
Reduce noise selectively and sharpen detail—use luminance noise reduction on the background and targeted sharpening (unsharp mask or deconvolution) on structures while protecting stars with masks.
Remove gradients and correct star shapes using gradient removal and star reduction tools.
Export a high-quality TIFF or JPEG and keep your RAWs and stacked files for future reprocessing as you learn new techniques.
Go Shoot — Iterate and Improve
Practice, review your results, and tweak settings each session; patience plus stacking and smart post-processing turn DSLR captures into breathtaking deep‑sky images. Try these steps, share your progress with the community, and keep refining until you’re proud to show it.





Okay so I read this and felt hopeful.
Then I remembered my backyard has a streetlamp 20 ft away.
Also my mount is older than my car 😂
Still, the “Go Shoot — Iterate and Improve” section is motivating — small wins, right?
Gonna try the workflow this weekend and report back.
Good primer. I have a question about ISO and noise — you recommend high ISO for faint stuff, but on my old APS-C the noise gets crazy. Is it better to shoot more subs at moderate ISO and stack or fewer subs really high ISO? Also typo in the aperture section (small aperture = less light -> you meant ‘wider aperture’).
Nice catch on the typo — thanks, I’ll fix that. As for ISO: for most DSLRs it’s best to use a moderate ISO that gives good dynamic range (often mid-range), then increase total integration time via more subs. Stacking more subs usually beats one very high-ISO shot.
On older sensors I do ISO 800–1600 and just stack like 50–100 subs if the mount allows. Takes time but the result is cleaner than one noisy frame.
Super practical guide. The gear setup part saved me from wasting time fiddling in the dark last time.
Question: for someone on a strict budget, is it better to invest in a tracking mount first or a faster lens?
I shoot with a 35mm f/1.8 on a crop DSLR — thinking a budget mount might be next.
And don’t forget to balance the rig well — poor balance increases periodic error and shortens guide camera life.
Both are useful, but for deep-sky the tracking mount unlocks longer exposures and higher-quality subs. If you can only pick one, go mount first — you can always stack many short exposures from a fast lens, but tracking lets you get cleaner, deeper subs.
If you do choose a mount, prioritize polar alignment aids (like a polar scope or app). Saves so much time and frustration.
Agree with admin. A decent used mount beats a new fast lens for DSOs. Also check used classifieds — I scored a good EQ mount for way less.
Love the calibration frames section. Quick tip: don’t skimp on darks and flats — they really pay off when stacking.
I usually take 30 subs, 30 darks, 30 flats, and 30 bias. Maybe overkill but the result is cleaner.
Also, I found tracking errors reduce dramatically after doing a good polar align (yes, take the time).
Exactly — quality over quantity sometimes, but enough frames to beat down noise. And yes, a good polar alignment is one of the biggest bang-for-buck improvements for tracked shots.
This guide made me actually go out and shoot last month — and my first stacked image of M31 wasn’t terrible! 📷✨
A couple things I did differently: used 2-minute subs, autoguided, and spent extra time on flats.
One question: any quick tips for color calibration in post? My reds look blown out compared to processed examples.
Also, thanks for the encouragement to iterate — that advice alone helped me keep going.
I had the same issue — dialing down saturation on a per-channel basis helped. Also watch out for light pollution gradients skewing color.
Pro tip: when in doubt, convert a copy to HSL and tame the red luminance. Saved my blushy galaxies 😂
If reds blow out, try reducing red channel stretch or use selective curves. Also watch your histogram to avoid clipping.
And one more: for emission nebulae, don’t be afraid to selectively boost red/H-alpha but do it gently — otherwise skin-tone-like artifacts appear in galaxies.
Great to hear you got M31! For color: try stretching with care (avoid clipping highlights), use background neutralization before color balance, and consider using a color calibration frame (if your workflow/software supports it) or reference stars for white balance.
Nice article. One thing I’d love to see: recommendations for apps to pick the best night and location. Light pollution maps are great but I find they don’t always match what I experience. Any favorites?
I use Stellarium on my phone for planning targets + Clear Outside for clouds. Works well together.
Totally — I mention a few in the article, but favorites are: Dark Site Finder or LightPollutionMap for long-term planning, and ClearOutside or MeteoBlue for cloud forecasts. Combine a light pollution map with a local weather forecast for best results.
Amazing guide — loved the step-by-step flow!
I usually struggle with “Nail Focus for Pinpoint Stars” — my stars end up a little fuzzy.
Do you recommend using live view at 10x or a Bahtinov mask for DSLR wide-field shots?
Also, the stacking section was super clear, but any quick tips to avoid vignetting when using flats?
Thanks! 😊
I agree on the Bahtinov — life saver. Also try focusing on a bright star near the target, not dead center of the frame, that helped me with edge sharpness.
If you don’t have a Bahtinov, use focus bracketing: take 3-5 frames at slightly different focus rings and stack the sharpest. Not perfect but works in a pinch.
Great questions, Sarah. For wide-field deep-sky with a DSLR I usually start with live view at 10x to get close, then fine-tune with a Bahtinov on a star when I switch to longer focal lengths. For flats: point at a uniformly lit white panel or the dawn sky, use the same aperture and sensor orientation, and take 20–30 flats to average out noise.
Quick question: is a 50mm lens even useful for deep-sky? I have one and was thinking of trying wide-field Milky Way shots.
Absolutely — 50mm is great for wide-field DSOs and Milky Way panels. On crop bodies it gives tighter framing; on full-frame it’s a classic focal length for landscapes + Milky Way. Use faster aperture if you have it and track for longer exposures.