
Quickly Make Clear, Durable Microscope Slides
Prepare clear, professional microscope slides quickly with this simple five-step guide. Whether you’re a student, hobbyist, or lab worker, these practical instructions help you collect specimens, mount them correctly, seal and preserve slides for reliable observation and long-term storage safely.
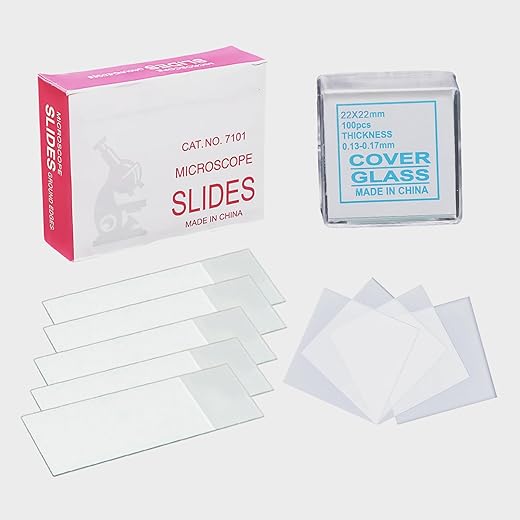
What You'll Need

Mastering the Perfect Microscope Slide: A Quick, Clear How-To
Collect and Prepare Your Specimen
Why the first cut determines the whole result — gather smarter, not harder.Choose a fresh, representative specimen and keep it small enough to fit under a cover slip—thin slices or single cells are ideal. For plant tissue, slice thinly with a razor blade or microtome; for liquid samples, place a single drop on the slide. Trim excess bulk to avoid air bubbles.
Label the slide edge before mounting to avoid smudging. Wear gloves and work on a clean, lint‑free surface. If you will stain, prepare reagents and a simple staining timetable now.

Mount the Specimen on the Slide
Want fewer bubbles and better images? Angle your coverslip like a pro.Place the specimen centrally on the slide using fine tweezers or a mounted needle; for delicate items, work under a dissecting scope.
Add a drop of distilled water or mounting medium for solids to cushion and flatten (e.g., leaf fragment, insect leg).
Pipette a small droplet for liquids and lower a coverslip at a 45° angle to let fluid spread and avoid bubbles.
Apply stains before lowering the coverslip and time the reaction per reagent instructions.
Press gently on the coverslip and blot excess fluid with absorbent paper at the edge — do not slide the coverslip sideways.
Ensure the specimen is thin and centered for clear illumination.
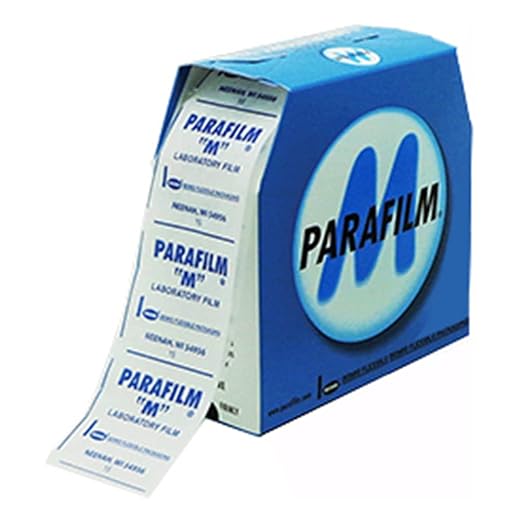
Seal and Preserve the Mount
A tiny bead of sealant keeps your work intact for months — no fuss, big payoff.Seal the edges of the coverslip with nail polish, commercial sealant, or clear resin. Start at one edge and draw a thin, even bead around the perimeter—avoid touching the glass. Allow the sealant to cure fully; times range from minutes (fast-dry polish) to hours (resins).
For example, teachers often use clear nail polish for classroom slides; researchers use epoxy or resin for long-term mounts.
Proper sealing prevents evaporation, contamination, and specimen movement during handling or imaging.
Labeling and Documentation
Tired of guessing what’s what later? Document now and save hours tomorrow.Record key metadata for every slide: sample ID, source, date, stain, magnification, and brief preparation notes. Example: HEP-001 | liver biopsy | 2025-09-02 | H&E | 40x | fixed 10% formalin.
Write small, legible text or use printed labels on the slide’s frosted end and add operator initials (e.g., JD). Photograph each slide with a visible scale bar and save images using the slide ID in the filename.
Maintain a logbook or digital spreadsheet linking slide IDs to full experiment notes and images. Back up records offsite (cloud or external drive) to preserve reproducibility.

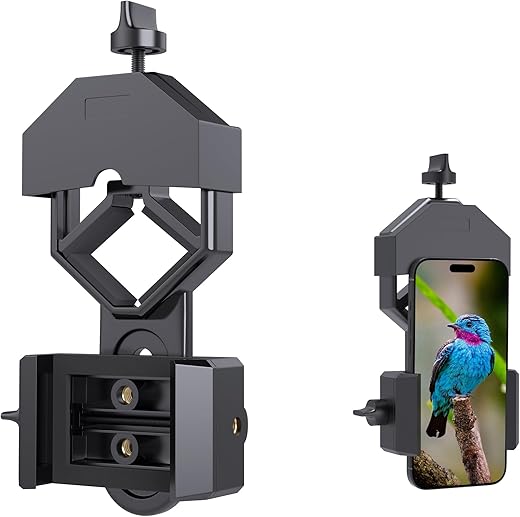
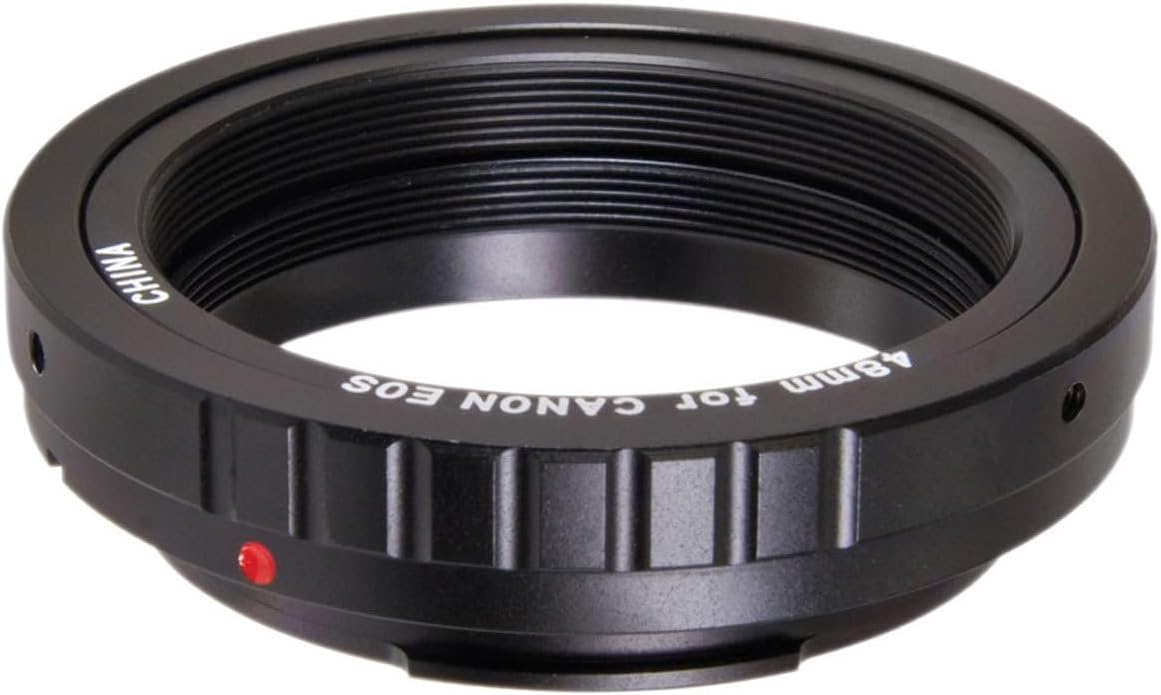
Inspect and Image Your Slide
Capture publishable images fast — follow a reliable imaging routine every time.Begin at low power to locate the specimen, then increase magnification and refocus.
Adjust condenser, diaphragm, and light; use Kohler illumination if available.
Use fine focus and stage controls to capture sharp, in-focus areas.
Take z-stacks and consider focus stacking for greater depth of field.
Verify filters and exposure for fluorescence or polarized light to limit photobleaching.
Note artifacts (bubbles, debris, staining) and decide whether to remount.
Export images with descriptive filenames and embed metadata (mag, objective, camera).
Practice consistent workflows, calibrate with a stage micrometer, and store raw and processed files.

You’re Ready to Mount Slides
Follow these five steps to create clear, durable slides for observation, imaging, and storage. Try it, share your results, and join the community of skilled microscopists. Start mounting right today!


Okay real talk — step 2 where you lower the coverslip slowly? That advice saved me from making 20 bubble disasters today.
I tried the angled-drop trick and it worked. Still, I wish the guide had a picture showing the angle.
Also, labeling with pencil is underrated. Pens smudge under immersion oil!
So glad that helped, Sophie. Good tip about pencil — we’ll emphasize using a glass-safe pencil or alcohol-resistant marker for oils.
If anyone’s curious: hold the slip at ~45° and let one edge touch the drop, then slowly lower. Works like magic.
Picture would help for sure. Also pro tip: use a folded tissue to blot the excess with capillary action from the opposite edge of the coverslip.
This was a lifesaver during my hobby microscopy nights. Two quick tips from me:
1) Warm the mounting medium slightly to reduce viscosity when using viscous resins.
2) Use a thin smear for dense specimens so cells don’t clump.
Also, anyone else accidentally crush cells with too much pressure on the coverslip? 😅
Great practical tips, Carlos. Warming viscous media and making thin smears are excellent ways to improve slide quality. And yep, watch that pressure — even a tiny drop can change morphology.
Haha yes — ancient history in my lab book: “don’t press like you’re flattening dough.”
Been there. I sometimes use two coverslips to gently lower pressure: let the first rest then replace with a clean one. Takes practice.
Short and sweet: the imaging step (step 5) felt a bit rushed. For folks using phone adapters or DIY rigs, a tiny subsection on stabilizing the camera and avoiding glare would be awesome.
Tried to take pics with my phone and got lots of reflection from the coverslip. Any quick fixes?
Good catch, Hannah. We’ll add a small troubleshooting box for imaging: use a diffuser, lower ambient light, angle the phone slightly, and make sure the phone camera is centered over the eyepiece. A phone-to-eyepiece adapter also helps stabilize and reduce glare.
I put a thin rubber ring around the eyepiece to steady the phone. Cheap ring + tape = surprisingly good results.
Nice primer — very approachable for beginners. A small nitpick: the section on sealing could use a short list of common mounting media and their refractive indices. Would help when imaging under oil vs. dry objectives.
Agree on the refractive index thing. I ruined a phase contrast image once by mismatch — never again.
Solid suggestion, Liam. We’ll add a quick reference table in the next update listing water, glycerin, Canada balsam, DPX, and their approximate refractive indices and best-use cases.
Super helpful guide — thanks! I loved the clear 5-step layout.
One question: for freshwater pond samples, do you recommend mounting in water or using glycerin? I worry about bubbles and long-term preservation.
Also, the tip about labeling saved me yesterday when I mixed up two slides 😂
Glycerin + a tiny dab of nail polish to seal the edges worked for me for months. Not fancy but cheap 😅
Great question, Anna. For short-term observation water or saline is fine (less refractive index change), but for longer-term mounts glycerin or a resin-based mounting medium is better to prevent drying and preserve morphology. If you want archival slides, use a proper mounting medium and seal well.
I use methyl cellulose for pond critters — keeps them from drifting and gives decent visibility. Not archival but handy for classroom demos.
I tried this with cheek swabs for a school project. Quick report:
– Collecting specimen: easy
– Mounting: tricky at first
– Sealing: I used clear nail polish and it lasted through three classroom sessions
One thing: mention safety briefly (gloves, disposal). Some kids thought it was fine to do without prep 😬
Thanks for the feedback, Daniel. Good catch — we’ll add a short safety section (gloves, eye protection, proper disposal of biological materials) to the guide.
Yep, safety is key. My school requires a supervisor for anything involving human samples. Better to be cautious.
Constructive feedback: the labeling section was useful but the documentation bit felt brief. For research purposes, I’d like a suggested metadata checklist: specimen source, date/time collected, staining used, magnification when imaged, and mounting medium.
Also, is there a recommended file naming convention for slide images? I ended up with 50 files named IMG_#### and no clue what’s what.
Love that naming example — saves so much headache later.
Also consider keeping a simple spreadsheet with thumbnails linked to files. Cheap and effective!
Excellent points, Noelle. We’ll expand the documentation section with a metadata checklist and suggest a basic naming convention like: YYYYMMDD_specimen_stain_mag_uniqueID (e.g., 20250902_pond_giemsa_40x_01).