If your acrylic glasses organizer has cracked or come apart, follow this step-by-step guide to restore it. Start by cleaning the broken pieces and applying acrylic cement to the cracks. Hold the pieces together tightly and let them dry. If the pieces are completely separated, use a clamp to hold them in place while the cement sets. Once the cement has dried, reinforce the repaired areas with clear epoxy or acrylic adhesive. Sand any rough edges and polish the entire organizer for a smooth finish. Your acrylic glasses organizer will be back in perfect shape in no time!
Top-rated storage solutions for your glasses

Assess the damage
To assess the damage of the acrylic glasses organizer, carefully examine the entire organizer for any signs of damage. Start by inspecting the surface of the organizer, running your fingers gently over it to feel for any cracks or irregularities. Next, closely examine all edges and corners, looking for any visible cracks or chip-offs. Check the individual compartments where the glasses are placed, making sure to inspect the bottom and sides for any broken pieces. Additionally, check the connections between different parts of the organizer, ensuring that they are not loose or detached. Take your time to thoroughly inspect each section of the organizer, making note of any damaged areas that require repair or replacement.

Gather the necessary tools
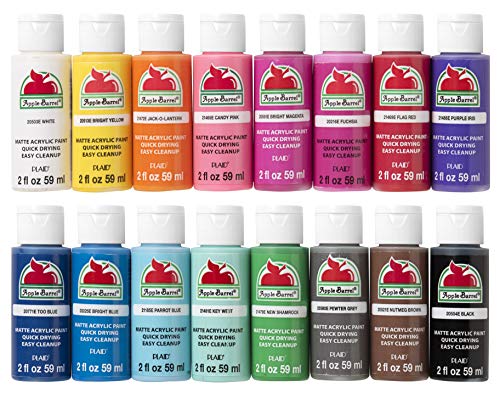
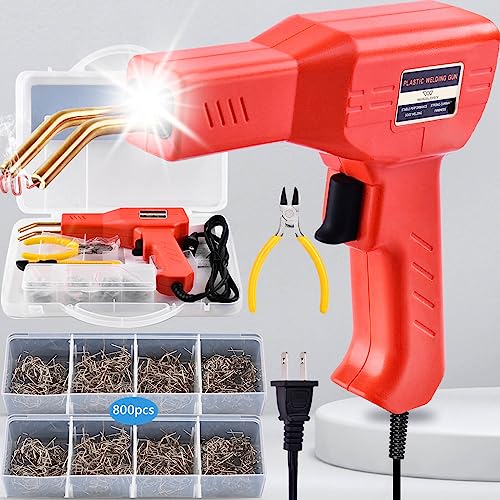
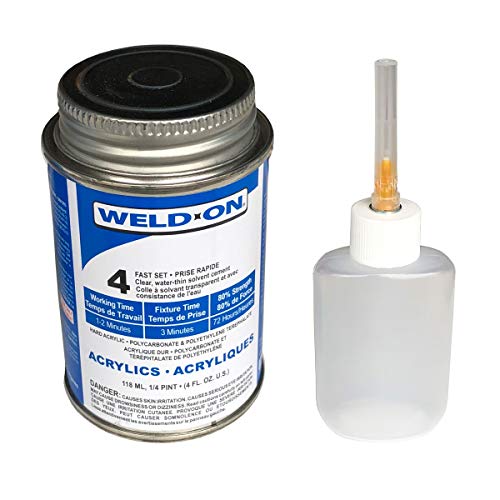
- Collect adhesive: Start by gathering a suitable adhesive to repair the broken acrylic glasses organizer. Look for a strong adhesive that is specifically designed for bonding plastics. Examples include epoxy resin, cyanoacrylate (super glue), or acrylic cement.
- Obtain a small brush: Find a small brush, like a disposable paintbrush or a small foam brush. This will be used to apply the adhesive evenly and thinly over the broken parts of the organizer.
- Procure clamps or rubber bands: Locate clamps or rubber bands that can be used to hold the broken pieces of the organizer together while the adhesive dries. Clamps can provide a secure and stable hold, but if you don’t have clamps, you can use rubber bands to apply pressure and keep the pieces firmly in place.


Clean the surface
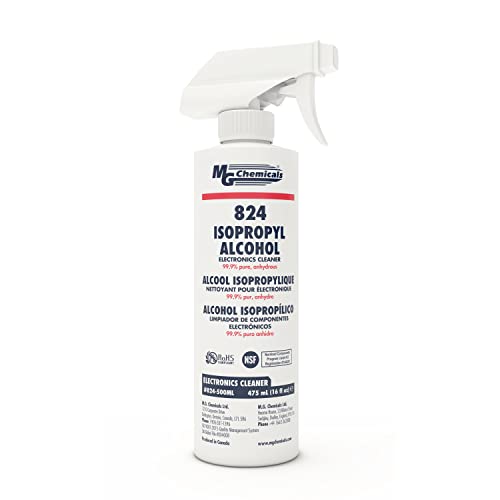
To clean the surface thoroughly, start by gathering a mild soap and water solution. Next, take a clean cloth or sponge and dampen it in the solution. Begin by wiping down the areas that require repair, focusing on removing any dirt or debris present. Use gentle, circular motions, ensuring you cover the entire surface evenly. Pay special attention to any stubborn stains or grime, applying a bit more pressure if necessary. Continue wiping until the surface appears clean and free from contaminants. Once completed, allow the surface to air dry completely before moving on to the next step.


Apply adhesive
To apply adhesive to the cracked or broken areas of the acrylic glasses organizer, grab a small brush. Dip the brush into the adhesive, making sure to only coat the tip. Using steady and firm strokes, carefully apply a thin layer of adhesive to the damaged spots. Be cautious not to overload the brush with adhesive, as this could result in an untidy and overflowing application. Remember, a little adhesive goes a long way.
For example, envision a small crack on the side of the acrylic glasses organizer. Dip the brush tip into the adhesive and lightly brush it along the length of the crack. The adhesive should fill the crack, bonding the broken pieces together. If there is a broken-off piece that needs to be reattached, apply a small amount of adhesive to both the broken piece and the main body of the organizer. Press the pieces together firmly for a few seconds, using a clean cloth to wipe away any excess adhesive that may have seeped out.

Reattach broken pieces
To reattach broken pieces of an acrylic glasses organizer, follow these steps:
- Carefully align the broken pieces: Take both broken ends and make sure they are properly aligned before proceeding. This step is crucial to ensure a precise fit once the adhesive is applied.
- Press the pieces together firmly: Apply even pressure to both sides of the broken pieces, squeezing them together firmly. This will help create a strong bond between the parts.
- Use clamps or rubber bands to hold the pieces in place: Once the broken pieces are aligned and pressed together, use clamps or rubber bands to secure them in position. This will prevent any movement or misalignment as the adhesive dries.
- Allow the adhesive to dry: Check the instructions on the adhesive package for the recommended drying time. Be patient and allow sufficient time for the adhesive to fully cure and bond the broken pieces together.
Remember, following these instructions will help you reattach broken pieces of an acrylic glasses organizer, ensuring its functionality is restored.


Allow time to dry
Follow the instructions provided with the adhesive to determine the recommended drying time. This is important as different adhesives may have different drying times. Take a look at the adhesive package or refer to the product manual for specific instructions.
Once you have applied the adhesive to attach the acrylic glasses organizer, it is crucial to be patient and allow the adhesive to fully cure before disturbing the organizer. This ensures a strong bond and prevents any accidental damage or detachment. Here’s what you need to do:
- Consult the adhesive instructions: Check the adhesive packaging or manual for information regarding the recommended drying time. It may vary from a few minutes to several hours, depending on the adhesive type and environmental conditions.
- Time the curing process: Start a timer or set an alarm to keep track of the drying time provided in the instructions. Avoid relying solely on estimation, as it may lead to premature handling and compromise the bond’s strength.
- Avoid disturbances: During the drying period, refrain from touching or moving the acrylic glasses organizer. Even a slight disturbance can affect the adhesive’s ability to set properly, leading to weaker adherence.
- Provide adequate ventilation: If the adhesive recommends ventilating the area, ensure proper airflow by opening windows or using a fan. Ventilation can aid in the curing process by expediting solvent evaporation, especially for adhesive types that require it.
- Be cautious of premature use: Although the adhesive may appear dry to the touch, remember that it may not have fully cured. Give it some extra time to strengthen before putting any weight or stress on the acrylic glasses organizer.
By allowing the recommended drying time for the adhesive to fully cure, you can ensure a secure and durable attachment of the acrylic glasses organizer, providing long-lasting functionality.
Wrapping Up
In conclusion, with a careful approach and a few simple steps, anyone can repair a broken acrylic glasses organizer and ensure its longevity. By taking the time to fix it properly, you can restore its functionality and avoid further damage. Remember, handling the organizer with care is crucial for its long-term durability.
Necessary Supplies


Repair solutions for acrylic glasses organizer
Fix Your Broken Glasses Easily with DIY Repair Methods
Step-by-step guide to efficiently utilizing your glasses acrylic organizer
- Place the glasses acrylic organizer on a flat surface, such as a countertop or dresser
- Gently slide the glasses into the designated slots of the organizer. Make sure to align each pair neatly to maximize space
- Use the dividers or sections provided in the organizer to separate different types of glasses, such as sunglasses, reading glasses, or prescription glasses
- If the organizer has a lid or cover, close it securely to protect your glasses from dust or damage
- Place the organizer in a convenient location where you can easily access your glasses when needed, such as near your vanity, near an entrance, or on your nightstand
Frequently Asked Questions about Glasses Acrylic Organizers
How many pairs of glasses can a typical glasses acrylic organizer hold?
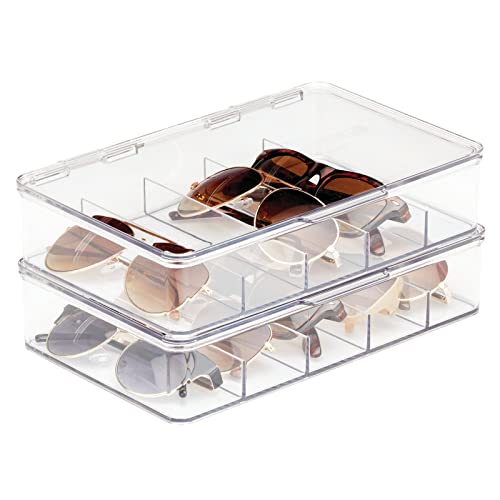
A typical glasses acrylic organizer can hold around 8 to 10 pairs of glasses. However, the exact number may vary depending on the size and design of the organizer.
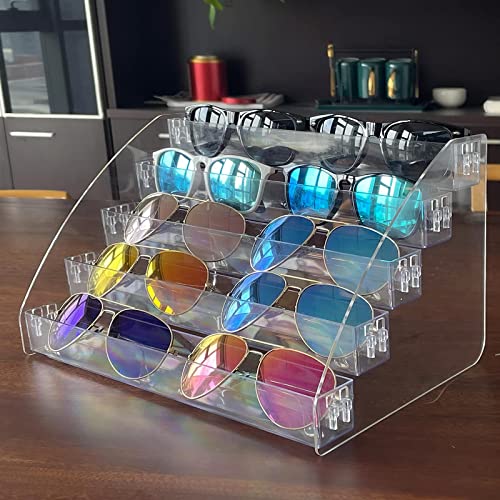
What is a glasses acrylic organizer, and how does it work?
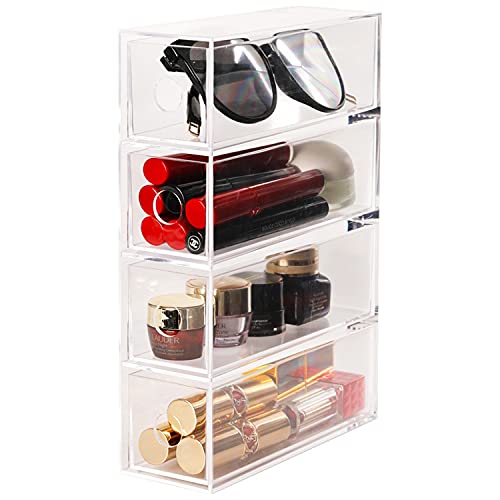
A glasses acrylic organizer is a storage solution designed specifically to store and organize eyeglasses or sunglasses. It is typically made of clear acrylic material, which allows for easy visibility of the glasses while keeping them protected.
The organizer usually consists of multiple compartments or slots to hold individual pairs of glasses. These compartments are often custom-sized to accommodate different types of frames and lens shapes. Some organizers also have hinged or sliding lids to further protect the glasses from dust, scratches, or accidental damage.
To use the organizer, you simply place your glasses in the corresponding compartments. The clear acrylic material allows you to see and easily access your glasses when needed. This is particularly useful for individuals who own multiple pairs of glasses and want to keep them organized, readily accessible, and protected.
Glasses acrylic organizers are commonly used at home to declutter and maintain a neat storage arrangement for eyewear. They are also used in retail stores, optical shops, or eyewear boutiques to showcase and organize their merchandise effectively.
Is the organizer specifically designed to accommodate certain types of glasses, such as sunglasses or reading glasses?
Yes, the organizer can be specifically designed to accommodate certain types of glasses, such as sunglasses or reading glasses. Some organizers have slots or compartments with dimensions that are suitable for storing different types of glasses. This allows for easy organization and protection of specific types of eyewear. However, it is important to check the specifications or product description of the organizer to ensure that it is designed to accommodate the specific types of glasses you have.